Creating a sourdough starter from scratch may seem intimidating and hard. We have all heard the stories of failure, which may have turned you away in the past ( I know it did for me) but rest assured this is an easy and doable process. You can succeed on your first try.

I love all of the things that sourdough can create (not just beautiful bread). I like making sourdough bread but it is not something that I make weekly. Sourdough pizza crust is one of my favorite recipes to make! It is a vital part of my cooking, and has its place in the kitchen just like a family member!
ABOUT SOURDOUGH STARTERS
Having a sourdough starter is like having a small piece of history in your kitchen. In some families, their sourdough starters have been in the family for hundreds of years. Others, your journey can start today.
It may seem crazy to create, maintain, and even write about silly old wild yeast, but the actual process truly is magical not only for the flavor of the food it produces but also for its nutritional benefits.
Back before we had access to little yeast packets sold in the stores, sourdough starter was used as wild yeast and it was passed down through generations as a staple in the kitchen.

NUTRITIONAL BENEFITS OF SOURDOUGH STARTER
Have you ever heard of phytic acid? It is found in the yeast packets that are sold at stores.
It is an anti-nutrient that helps to preserve the grain but it also blocks the body from being able to absorb certain nutrients. Our bodies weren’t meant to digest grains in this way, which is why so many people have grain and gluten sensitivities.
Back in the day, people didn’t have access to processed yeast in packets, and they would make their yeast that was wild and it essentially had zero traces of phytic acid because of the fermentation process.
Otherwise known as the sourdough starter!
The starter helps to naturally capture wild yeast through natural fermentation (aka the sour taste). It harbors a ton of gut-healthy bacteria that break down the indigestible parts of gluten.
So how to make your own yeast in the form of a sourdough starter you ask? Read on I will give you the process of creating your starter and MY TOP 5 SOURDOUGH STARTER TIPS.
MAKING A SOURDOUGH STARTER FROM SCRATCH
If you have made it this far, you are well aware of WHY you need one of these bubbling pots of gold sitting on your countertop. But how do you make one?!?
INGREDIENTS
- Flour (Unbleached all-purpose, whole wheat or Einkorn flour all can be used)
- Water
TOOLS YOU WILL NEED
- Glass Bowl (Do not use metal as it can negatively interfere with the good bacteria in the wild yeast)
- Wooden Spoon
- Tea Towel
SOURDOUGH STARTER RECIPE + PROCESS
DAY 1:
- Get out your glass bowl and add in one cup of flour and one cup of water. It is important to stir well and incorporate all of the flour and water together (even the sides of the bowl). Get it all!
- Drape a clean tea towel over the top of the bowl and set it on the counter. Allow it to ferment for 24 hours. *70 degrees or more in your house*
DAY 2:
- This will be hard to do, but take ½ of your fermented flour and water mixture out of the bowl and dump it down the drain.
- Repeat the process from the day before: add in one cup of flour and one cup of water. Stir very well and cover it with a tea towel. Let it ferment for another 24 hours.
WHY DO I DISCARD HALF?

But it fermented for 24 hours! I cannot dump this down the drain!
Trust me. You must.
This process may seem wasteful, but it will keep the sourdough from overflowing out of the bowl by day 4. It also ensures that the sourdough starter is getting fed the right amount of flour and water as it grows and creates that wild beneficial yeast colony.
If you do not discard half, you would end up with a lot of sourdough starter that wasn’t mature with wild beneficial yeast. Total waste of time. Okay back to the process!
DAY 3:
Repeat
- Take ½ of your fermented flour and water mixture out of the bowl and dump it down the drain.
- Add in one cup of flour and one cup of water. Stir very well and cover it with a tea towel. Let it ferment for another 24 hours.
DAY 4:
Repeat days 2 + 3
- Take ½ of your fermented flour and water mixture out of the bowl and dump it down the drain.
- Add in one cup of flour and one cup of water. Stir very well and cover it with a tea towel. Let it ferment for another 24 hours.
Day 5:
Last day repeating I promise!
- Take ½ of your fermented flour and water mixture out of the bowl and dump it down the drain.
- Add in one cup of flour and one cup of water. Stir very well and cover it with a tea towel. Let it ferment for another 24 hours.
DAY 6:
Repeat the above process for today and tomorrow (day 7) but instead of feeding it every 24 hours, feed it every 12 hours.
- Take ½ of your fermented flour and water mixture out of the bowl and dump it down the drain.
- Add in one cup of flour and one cup of water. Stir very well and cover it with a tea towel. Let it ferment for 12 hours.
DAY 7:
Repeat Day 6
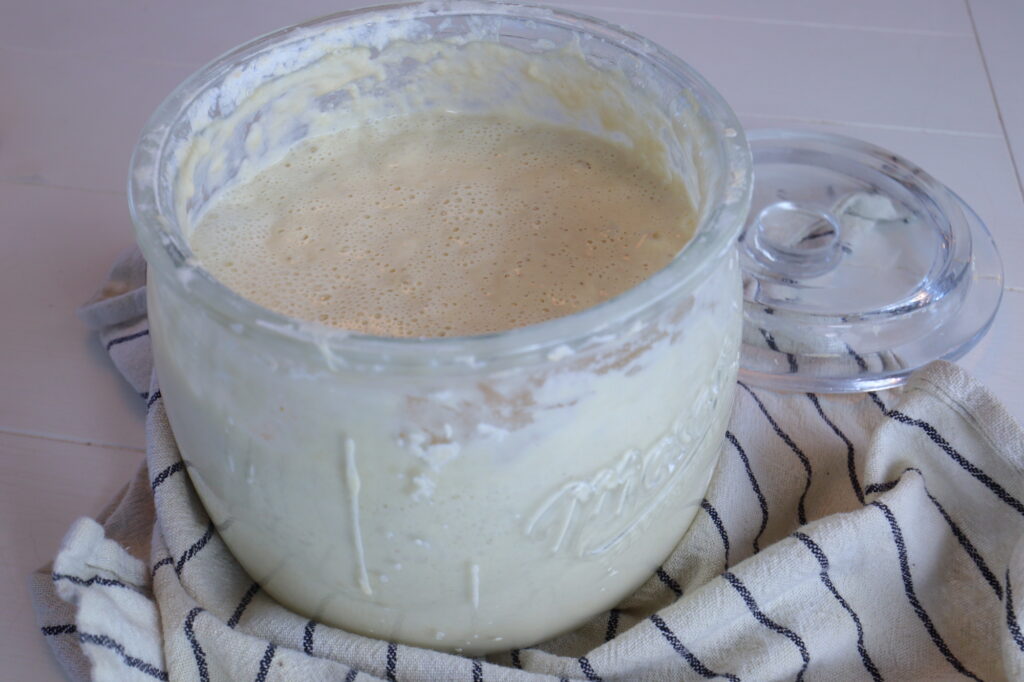
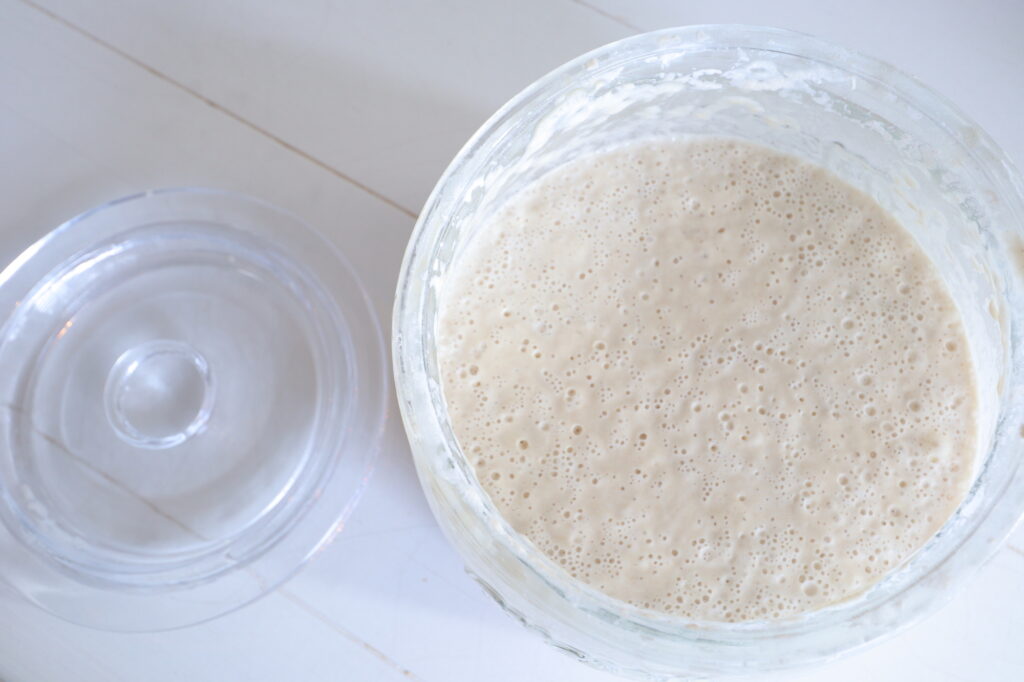
In just one week, you should have your easy sourdough starter completed. You will know it is working if your starter is bubbling and it has doubled in size. It is now ready to embark on the world of sourdough baking!
THE FLOAT TEST
How do you really know your starter is active enough to make bread, pancakes, coffee cakes, pizza dough, pretzels…… you get the idea?!
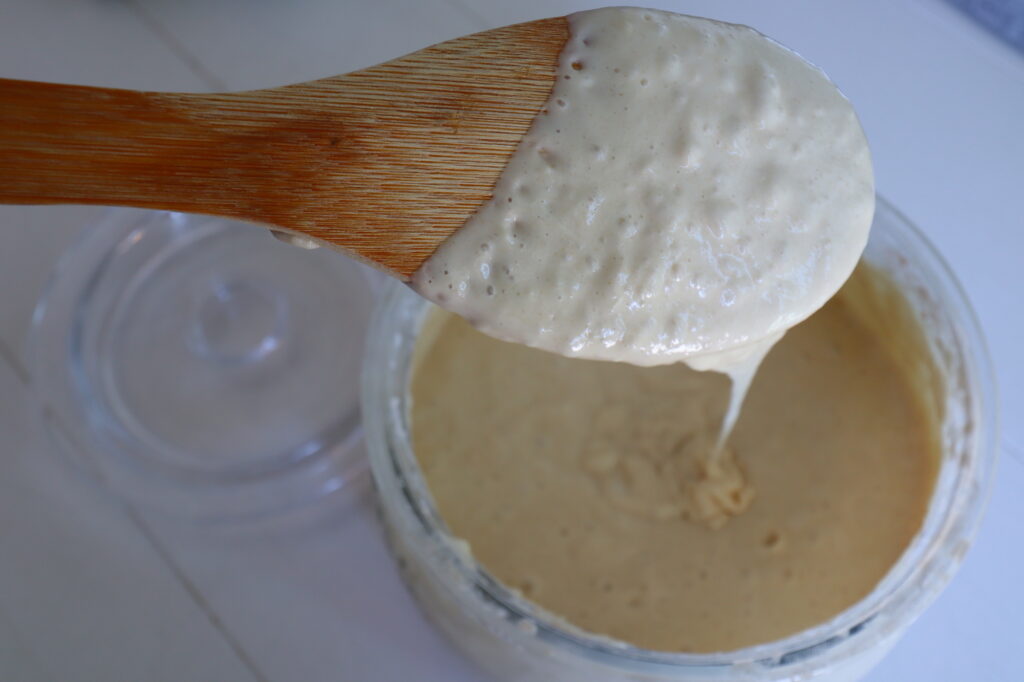
Simply fill up a bowl of room temperature water and add a spoonful of sourdough starter into the bowl. If the starter floats, it is ready to go! If it sinks, it will need more time fermenting.
MY TOP 5 SOURDOUGH STARTER TIPS
- Use a glass bowl and a wooden spoon when working with your starter. Metal is a no-go in the world of sourdough!
- Pick a warmer spot for it to ferment, like on a countertop near an oven.
- Stir WELL. You do not want any clumps of flour not properly fermenting. MIX MIX MIX!
- Write or print this 7-day process on a piece of paper and lay it on top of the tea towel so you can easily access instructions in real-time.
- Feel free to add in different flours of choice. I have used Einkorn flour and unbleached flour. Going back and forth is great. Just DO NOT USE BLEACHED FLOUR!
SOURDOUGH STARTER MAINTENANCE

Because your sourdough starter is alive and active proper (simple) maintenance is key to keeping it alive.
Depending on how much you use it, simply feed it after every use. Feeding a sourdough starter simply means to add equal parts flour and water to your current starter to keep it alive and fed.
For example: If I make sourdough pancakes and use 2 cups of starter, I will replace 2 cups of water and 2 cups of flour with my starter. I will leave it on the counter to ferment and bubble for a few hours.
If I am making another recipe that day (the starter is ready to go again) but if I am all done for the day I simply put the bubbly pot of gold into the fridge to slow down the fermentation process of the starter.
Feeding it one time a week if you are only using it one time per week is key. Feed it as much as you are using it. Put it in your fridge when you are not. I had a friend who put her starter in the fridge for 6 months without touching it.
She scooped off the “hooch” from the top and fed it, then it was good to go. Hooch is simply a gray watery layer on the top that just tells you the starter needs to be fed. No harm in it. If it is black scoop it off. If it is gray simple mix in and feed!
That is the process! You are not ready to make an abundance of different foods for your family and friends to enjoy!
Sourdough Recipes I Love
This post contains affiliate links, which means I make a small commission at no extra cost to you.
How about instead of saying “dump it down the drain” feed it to your chickens, compost or pigs!!! A much better use of excess sourdough starter with no waste.
If you have chickens, compost, or pigs then YES! Great advice! Love it.