A dry sourdough starter is a great way to ensure that your mother starter stays preserved for a long time. It is the ultimate form of insurance for your beloved fresh sourdough starter that is full of beneficial and iconic wild yeast.
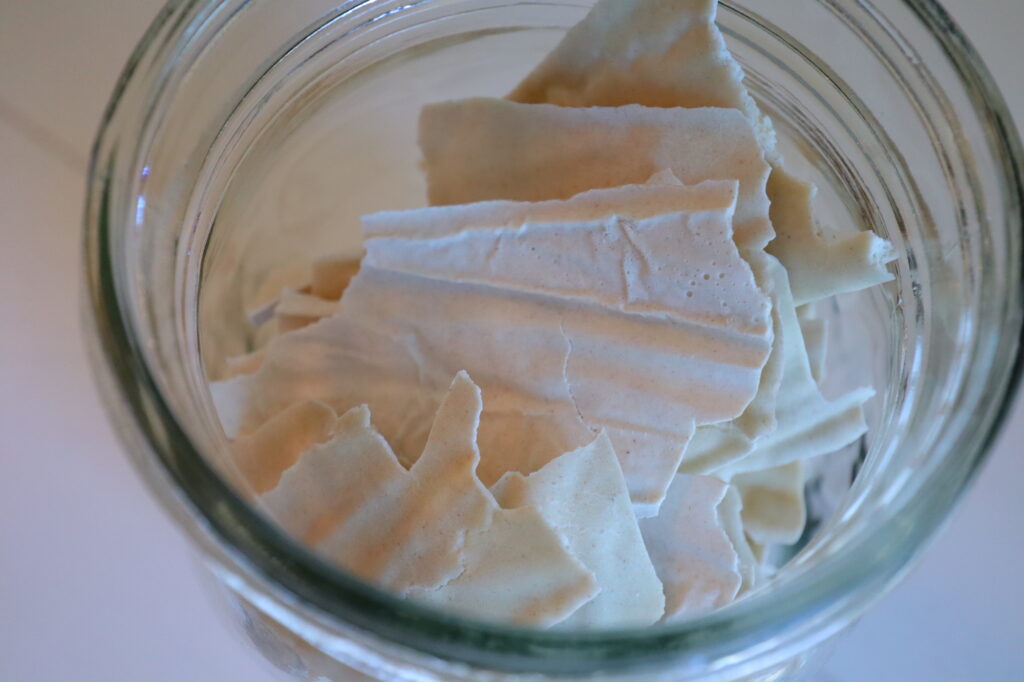
In this post, I will talk about how to dry a mature and bubbly starter to preserve it for a very long time. I finish the post on how to revamp your dried starter once you are ready to use it again.
Maintaining an active starter takes time and ongoing care even though it is a simple process at the core. Regular feedings, making sure the active starter stays in a warm spot to ferment and then baking with it is all regular maintenance.
A dehydrated sourdough starter however is a wonderful way to have a backup plan in case your mother starter gets ruined, goes bad, or is a great way to put your sourdough starter to rest for a while.
I am sure if you are reading this post you are well familiar with what a sourdough starter is, but if you need a refresher to check out my post all about it here.
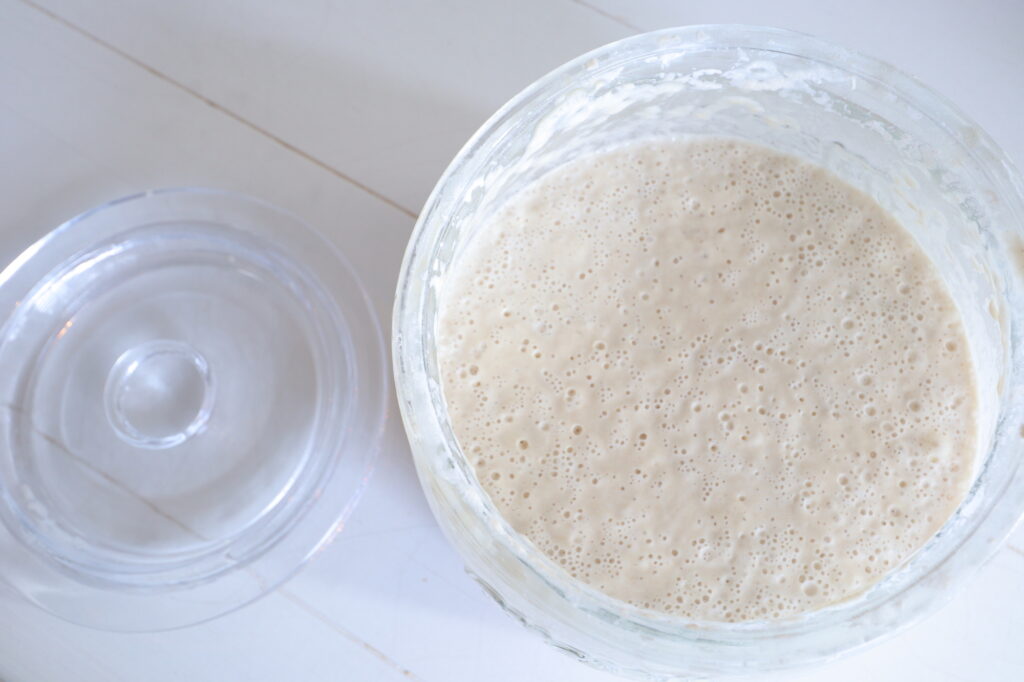
In short, an active sourdough starter is like a pot of bubbly wild yeast gold that will take you on a baking journey unlike any other. The fermentation process is simple with a sourdough starter. With regular feedings of equal parts fresh flour and cold water in a glass jar or bowl, you simply let it sit on the counter to ferment and break down the phytic acid.
You can use all purpose flour, bread flour, whole wheat flour, or even einkorn flour in your starter. It all depends on what you have in your pantry. Hydrate the starter with lukewarm water and stir well with a wooden spoon.
WHAT DO YOU MAKE WITH FRESH SOURDOUGH STARTER?
The opportunities are endless when it comes to making delicious food with your sourdough starter. I like to make English muffins, pancakes, and as always the popular sourdough bread. You can also make skillet meals with it, chocolate cake, cookies, and so much more.
A good sourdough recipe is like a good friend. Know one? Share it with me!
It truly is a nice asset to have in the kitchen. You don’t want to lose it forever, especially since it takes time and effort to feed it and keep it alive.
But in some circumstances, we must pause our starter or want to have a little extra on hand in case our mother starter gets ruined. What is one to do?
That is where I come in! I wrote this post for you! Let’s get to learn how to dry sourdough starter.
YOU MUST USE A MATURE STARTER NOT A NEW STARTER
If your starter is over 5 months old, you can dehydrate. The active cultures and colonies of yeast are ever-present and are valuable. Anything newer than this won’t have the mature and solid colonies of yeast that make sourdough a valuable asset in the kitchen.
WHAT IS A DEHYDRATED SOURDOUGH STARTER?
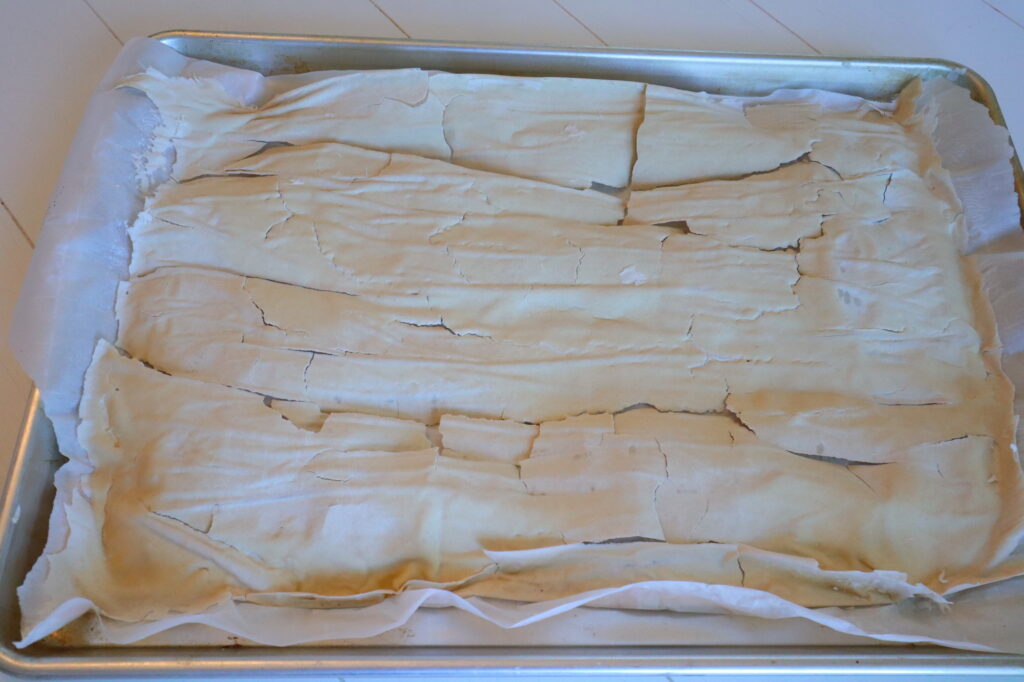
Simply put, it is a bit of your starter (or all of it) spread out into a thin layer on a cookie sheet to dry out. The whole process takes about 24-48 hours depending on how thick you spread your starter out on the sheet. The thinner the layer the less time it will take to dry out.
It is a good idea to let your hydrated starter ferment on the counter with a good feeding first thing in the morning or the evening (overnight) at least 5 hours before you dehydrate it. You want the wild yeast active and bubbly going into this process.
WHY WOULD YOU WANT TO DEHYDRATE YOUR SOURDOUGH STARTER?
There are so many different circumstances in life that make it hard to care for a sourdough starter. They take a small amount of maintenance in my opinion, but it is maintenance.
A Medical Condition, Surgery, or Pregnancy
If you are dealing with health issues, getting ready for a big surgery, or about to have a baby and know using your sourdough starter will not be at the forefront of your mind, dehydrating your starter may be a good idea.
An Insurance Policy
I love my starter and would be devastated if it was ruined. I envision sometimes my children running in from outside and accidentally knocking my starter off the counter. It lives in a glass jar so I know the cleanup would be almost irreversible. Having a cup of starter dried for safekeeping makes me feel good.
Moving across the country or even the world
If you are in a situation where you are moving a far distance, the last thing you want to worry about is your starter. Keeping it in an airtight container isn’t good enough insurance. So many variables can come into play when you don’t have access to a refrigerator or even flour. The best way to ensure your starter can be alive and well at your new home is by dehydrating.
A gift to a friend
What a fun gift to give a friend! I love that you can send it via mail and there is no refrigeration concern or worry of a spill. I almost love this reason more than the insurance policy!
Other life circumstances
The good things in life like vacations, new marriage, or a new baby as mentioned before are all reasons to learn how to dry sourdough.
TOOLS YOU MAY NEED: HOW TO DRY SOURDOUGH
- A mature sourdough starter
- A spatula
- A large baking sheet
- 1 large piece of parchment paper
- A clean jar or storage container
DIFFERENT WAYS TO STORE YOUR SOURDOUGH STARTER
- In the refrigerator. This simply puts the fermentation process on hold. If you are only using your starter once a week it is best to feed it, let it ferment for a few hours and let it stay at room temperature, and then place it in the back of the fridge. If you are using it daily I would not place it in the fridge.
- Freezing It. I have heard through the grapevine you can freeze your starter for a year or so. I would not recommend it. There is a chance it will kill the wild yeast and that is not a chance I am willing to take!
- Drying your starter. This is a way better option for long-term storage. For insurance. For a gift. For many different reasons!
IDEAS ON HOW TO DRY SOURDOUGH
Air Dry
This is in my opinion the best way to dry out sourdough starter. A good amount of patience, a slightly warm space, a dry place, or just a place away from the kids! (Joking aside). Letting your starter sit and air dry fully requires little to no effort.
Between 2 Layers of Parchment Paper
If you want to press another layer of parchment paper on top of the thinned-out starter, it will take away any air bubbles that may be present. Not required, but an option when you are drying your sourdough out.
*Do not use the oven to dry out your starter. Even though tempting, just don’t!*
Can you use a dehydrator to achieve a dehydrated starter?
If you are using this method, I would first test a small amount of starters. Do not let the dehydrator go to a temperature above 100 degrees Fahrenheit.
HOW TO DRY SOURDOUGH STARTER: THE PROCESS
Step 1 | Make sure you have an active sourdough starter
This is the most important step in ensuring you have a starter that is at least 5-6 months old. How can you tell if your starter is ready? When a starter is mature, at its peak activity of fermenting it bubbles and doubles in size.
The easiest way to ensure peak activity before you dry it out is to let it sit on the counter to ferment for at least 5 hours.
Step 2 | Prepare a baking sheet and line it with parchment paper
The next step is all about preparing your baking sheet for drying. I found my largest sheet and lined it with parchment paper. Do not cover this baking sheet with plastic wrap.
Step 3 | Spread a thin layer of your starter down on the parchment paper
The thinner the layer the easier the starter will dry out. It is okay if it is a little bit thicker, it will just take at least 48 hours or more to dry.
Step 4 | Drying
Place your baking sheet with the starter in a place that won’t get bothered. Room temperature is great. If you have a cooler spot for drying that is even better. Don’t let it bake in the sun.
Step 5 | Store the dried starter in a jar
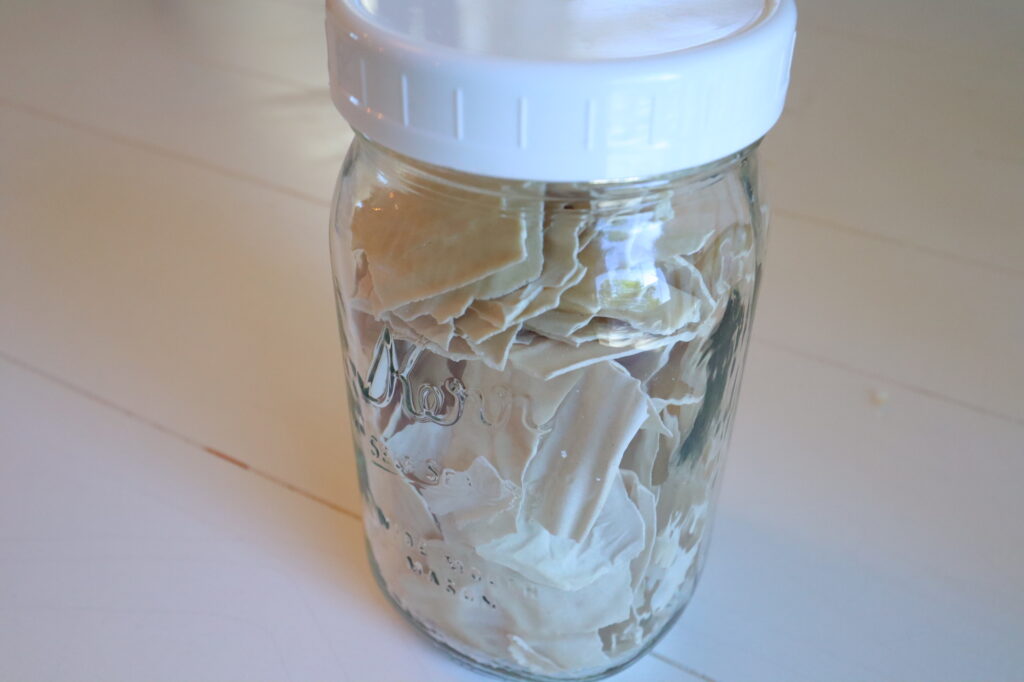
You can break it into small pieces or even use a food processor to blend it into powder. Either way, the starter is preserved. Once it is preserved it is good to store away for years and years hopefully uninterrupted!
HOW TO REVIVE YOUR DRIED STARTER
If you do need to revive your dried starter like I will (when I am traveling) and want to start baking with it pronto simply follow these steps:
- Get out ¼ cup of lukewarm water and soak it in ¼ cup of your dried sourdough starter. Let it dissolve for about 3 hours, and stir it.
- Feed it with ¼ cup flour and mix it up well. Let it sit in a warm place for 12-14 hours.
- Add 2 Tablespoons of flour and 2 Tablespoons of water to the starter. Let it ferment for 12 hours.
- It’s now ready to go back to its normal schedule before the dehydration process.
I hope this helps you in your journey to preserve your sourdough starter for the long foreseen future!
This post contains affiliate links, which means I make a small commission at no extra cost to you.

Hi Lauren:
Glad I found your article on drying sourdough starter. Will give it a try for sure soon because
vacation time is near and I was a bit worried about what to do with my precious starter. I’ll follow your instructions and hope for the best.
When reviving it you mention using 1/4 cup of dried starter. How many grams does that represent?
Or is it better to grind some up to a powder for measuring it?
Thanks and I’ll be letting you know the results.
Looking forward to hearing from you
Carol
Hi there!
Yes follow it and you will see success. I recently used one of my dried sourdough starters on a trip and it reactivated perfectly. It was so easy. I am not sure on grams- (I should) that is the best way to work with sourdough. I just dumped my entire dried starter from the mason jar into a bowl and covered with water. Follow the instructions on the post. It took me 2 days to see a bubble starter again! Easy easy!